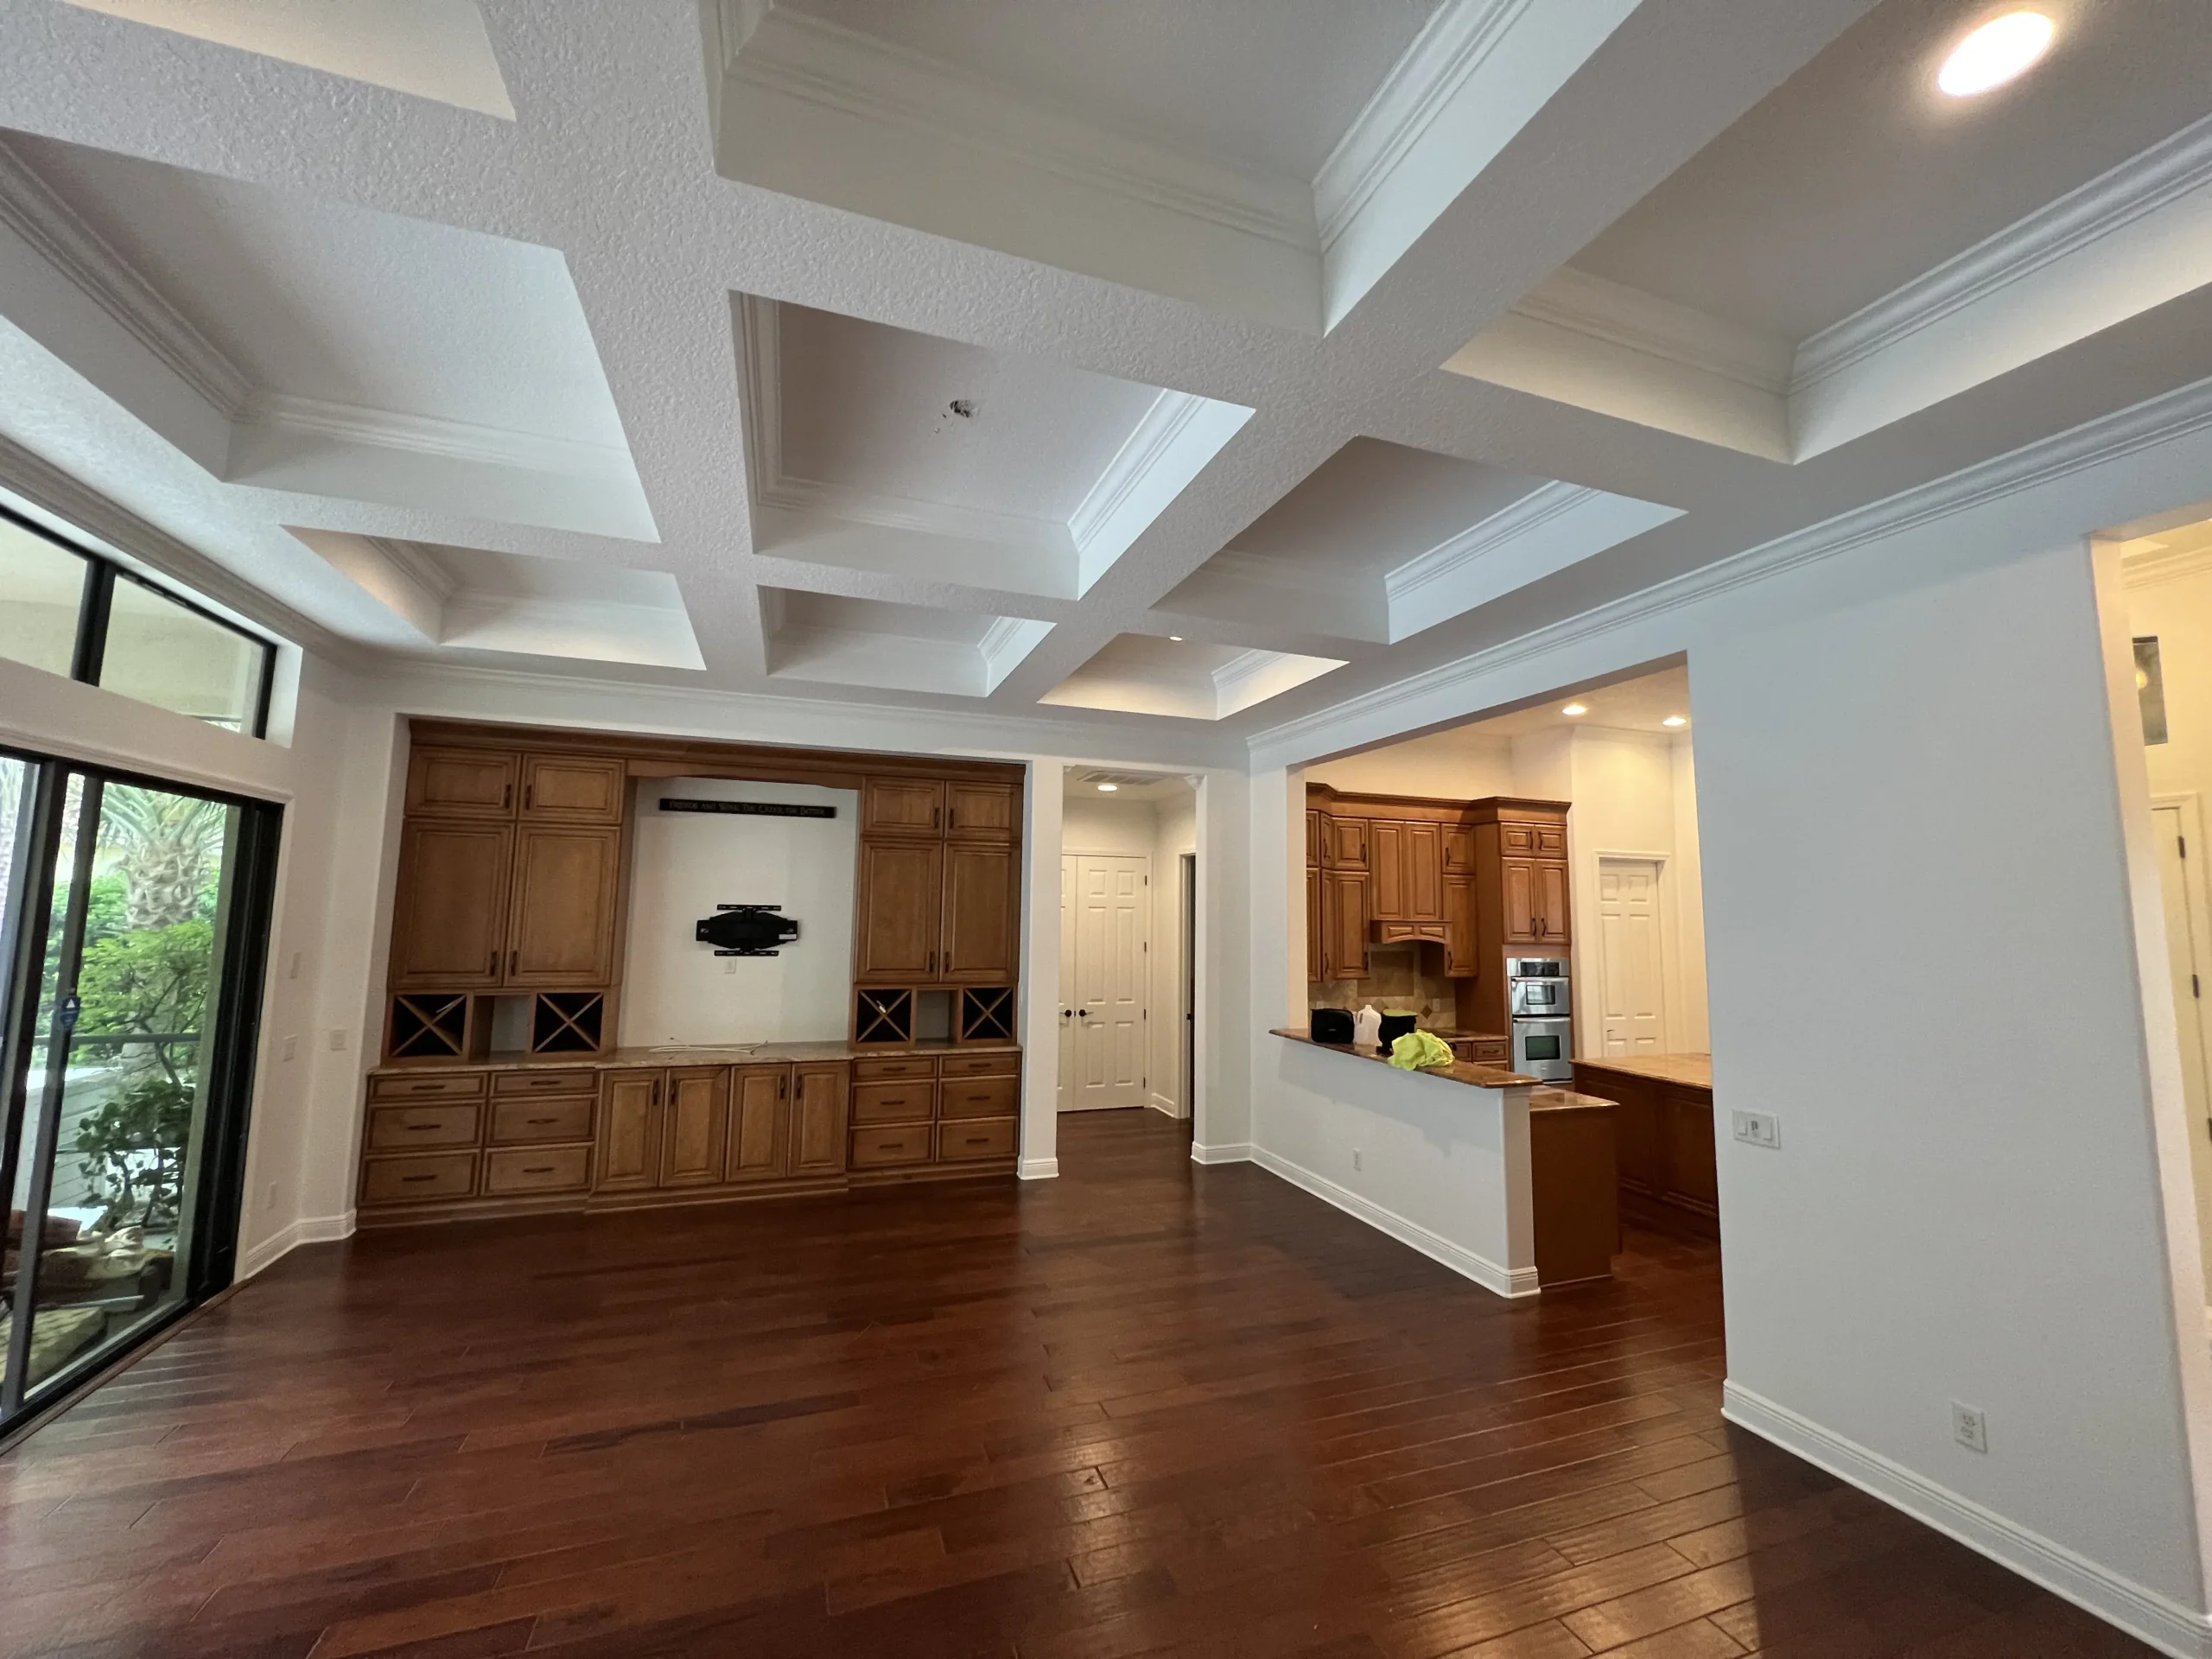
Painting kitchen cabinets can transform your entire kitchen without the expense of a full renovation. Whether you’re looking to update old cabinets or simply change your paint color, this comprehensive guide will walk you through everything you need to know to paint cabinets like professional painters.
“The kitchen is where remodeling dollars concentrate: the Joint Center for Housing Studies of Harvard University projects U.S. homeowners will spend roughly $522 billion on improvements by the end of 2026 – and kitchens routinely claim the largest slice, which makes a few hundred dollars of cabinet paint one of the highest-leverage projects in the whole house.”
— Joint Center for Housing Studies of Harvard University, 2026 LIRA
Why Paint Your Kitchen Cabinets?
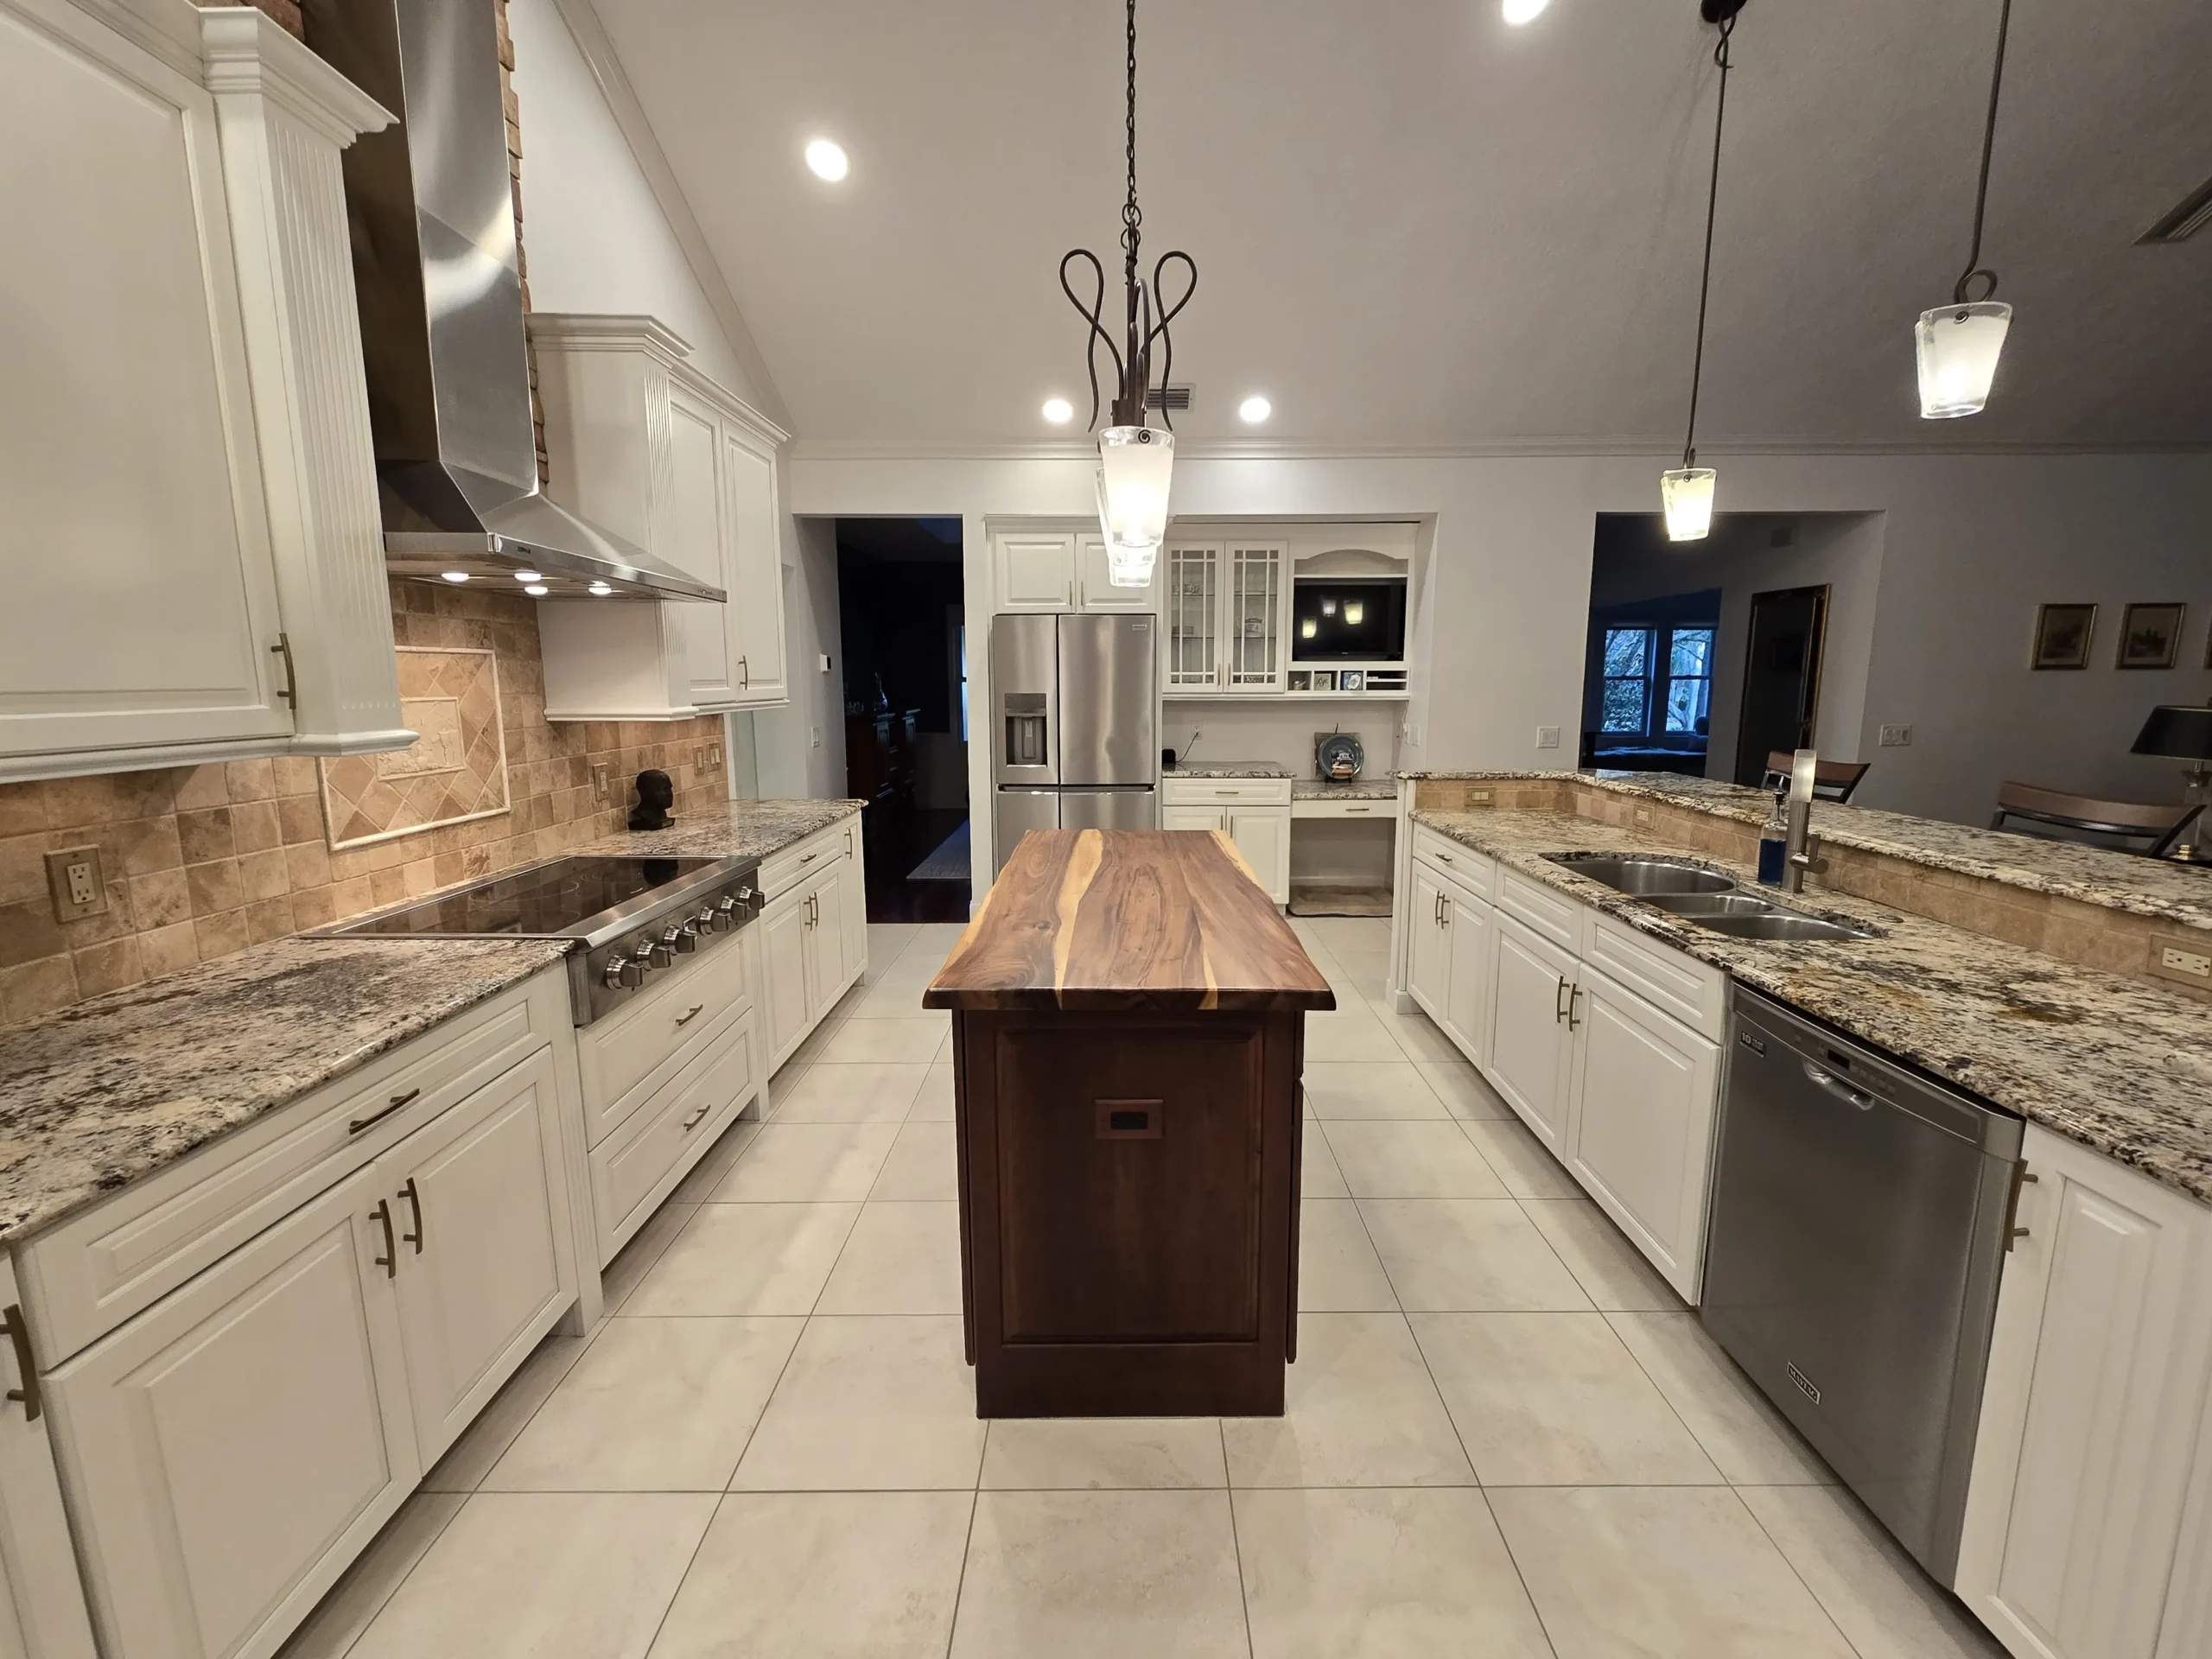
Cabinet painting is one of the most cost-effective ways to refresh your entire kitchen and can save money compared to buying new cabinets. If your existing cabinets are in good shape structurally, painting them offers a huge difference in appearance for a fraction of the replacement cost. The right paint and proper technique can transform your dream kitchen while preserving the functionality you already have.
Choosing the Best Paint for Cabinets
Selecting the best cabinet paint is crucial for achieving a professional finish that lasts. Not all paint is created equal, and kitchen cabinets require durable, high-quality paint that can withstand daily use.
Water-Based vs. Oil-Based Options
Water-based paints have become increasingly popular for cabinet painting projects. Products like Sherwin-Williams Urethane Trim Enamel offer excellent durability with quick drying time and easy cleanup. Benjamin Moore Advance is another top choice, featuring a waterborne alkyd formula that delivers the durability of oil-based paint with the convenience of water-based paints.
Oil-based options still have their place for achieving an ultra-smooth finish, though they require more drying time. Most professional painters now prefer high-quality water-based options for their balance of performance and ease of use.
“The shift toward water-based formulas isn’t just about convenience – it’s about air quality. The U.S. Environmental Protection Agency notes that paints and coatings can release volatile organic compounds into indoor air, where concentrations of many VOCs run consistently higher indoors than out, a real consideration when you’re painting inside an enclosed kitchen.”
— U.S. Environmental Protection Agency (EPA)
Understanding Paint Finishes
There are four main sheens to consider for kitchen cabinets:
Matte finish: Great for hiding imperfections on cabinet surfaces, but harder to clean and less durable for high-traffic areas.
Satin finish: Offers a subtle sheen with decent durability and easier maintenance than matte.
Semi-gloss: A popular middle ground that provides a durable finish with good cleanability. The semi-gloss finish balances aesthetic appeal with practical performance.
High gloss: Delivers the most durable and easy-to-clean surface, though it shows fingerprints more readily. The high gloss finish creates a modern, polished look.
For most kitchen cabinets, semi-gloss or satin finishes offer the best combination of durability and visual appeal.
[The four cabinet sheens compared, from most forgiving to most durable – and the two that win for kitchens.]
Essential Materials and Tools
Before you paint kitchen cabinets, gather all the supplies you’ll need. Having everything ready prevents delays and ensures a smooth finish.
Paint and Primer Supplies
Start with a high-quality bonding primer designed for cabinets. This step is crucial for proper paint adhesion, especially on previously painted surfaces. You’ll need enough primer and paint to cover all cabinet doors, drawer fronts, and cabinet boxes with multiple coats. The right primer creates a strong foundation that helps your top coats adhere properly.
Application Tools
Your choice of application method significantly impacts the final result. A paint sprayer generally provides the smoothest, most professional finish, delivering that factory smooth look. However, sprayers require more prep work to protect surrounding areas.
For those without a sprayer, a foam roller works well for flat surfaces, while a high-quality brush handles detailed areas. Many DIY projects use a combination approach for optimal results. Don’t forget sandpaper in various grits, painter’s tape, drop cloths, and cleaning supplies.
Preparing Your Kitchen Cabinets
Proper prep work is where professional painters separate themselves from amateur results. Rushing through preparation is the biggest mistake homeowners make when they paint cabinets.
“Take this to heart: the paint color gets all the attention, but the degreasing, sanding, and priming decide whether your cabinets still look good in five years. Beautiful paint over greasy, glossy wood is just an expensive way to watch a finish peel.”
Cleaning Cabinet Surfaces
Kitchen cabinets accumulate grease and grime that prevent paint from adhering correctly. Start by thoroughly cleaning all cabinet surfaces with a strong degreaser. Pay special attention to areas around handles and frequently touched spots. Wipe everything down with a damp cloth after cleaning and allow surfaces to dry completely.
Removing Doors and Hardware
Label each door and its corresponding cabinet location using painter’s tape and a marker. This simple step makes reassembly much easier later. Remove all cabinet doors, drawer fronts, and hardware. Store hinges and screws in labeled bags so nothing gets lost during the painting process.
Sanding for Better Adhesion
Sanding creates the rough texture that helps primer and paint grab onto cabinet surfaces. Use 120-150 grit sandpaper for the initial sanding to remove any glossy surfaces. This step is essential whether you’re working with existing cabinets that were previously painted or natural wood grain.
After sanding, vacuum all surfaces and wipe them down to remove every bit of dust. Even small dust particles can create imperfections in your final finish.
[Which sandpaper grit to reach for at each stage – get this wrong and the finish shows it.]
Priming Your Cabinets
Using a bonding primer is non-negotiable for a long-lasting finish. The right primer seals the surface, blocks stains, and provides the foundation for your paint to adhere properly.
Apply primer to all surfaces using the same technique you’ll use for paint. Allow the primer to dry according to the manufacturer’s instructions. Benjamin Moore and Sherwin-Williams primers typically dry within a few hours.
After the primer dries completely, sand lightly with 220-grit sandpaper. This step is a game-changer for achieving that smooth finish professionals are known for. Wipe away all sanding dust before moving to the actual painting.
Painting Process Step-by-Step
With proper prep work complete, applying paint becomes much more straightforward.
First Coat Application
Start painting the cabinet doors and drawer fronts in your designated work area. Paint the backs first, allow them to dry, then flip and paint the fronts.
For the best results, apply thin, even coats rather than one thick coat. Multiple thin layers prevent drips, dry more evenly, and create a more professional finish. Benjamin Moore Advance and similar high-quality cabinet paint products flow and level beautifully when applied in thin coats.
Sanding Between Coats
Once your first coat dries completely, sand lightly with 220-grit sandpaper. This crucial step removes any imperfections like brush marks or dust particles. It also helps subsequent coats adhere better for enhanced durability. Wipe away all sanding dust with a damp cloth. This prep properly ensures each new layer bonds securely.
Additional Coats for Full Coverage
Plan on applying two coats minimum, though some paint colors may require a third coat for complete coverage. Allow proper drying time between each coat. While water-based paints dry to the touch within a few hours, they need longer to cure fully.
Achieving a Professional Finish
Minimizing Brush Marks
Brush strokes are the telltale sign of an amateur paint job. Using high-quality brushes helps, but technique matters more. Keep a “wet edge” by working quickly and blending each section before it dries.
A paint sprayer eliminates brush marks, delivering factory-smooth results. If rolling and brushing, use a foam roller specifically designed for smooth surfaces.
Proper Curing Time
While your cabinets might feel dry to the touch after a day, full curing takes much longer. The curing process for most cabinet paint products takes 3 to 7 days before the paint reaches maximum hardness and durability.
Surprising fact
“Most DIYers don’t realize ‘dry’ and ‘cured’ are two completely different things. A cabinet can feel dry in an hour but stay soft underneath for up to a week – which is why stacking dishes back too soon, or in humid Florida air, can leave a permanent dent in a finish that looked perfectly done.”
During this curing period, handle doors gently and avoid closing cabinets forcefully. Benjamin Moore Advance and similar products reach full curing after about a week, creating a durable finish that withstands daily kitchen use.
Reassembly and Hardware Installation
After allowing adequate curing time, you can begin putting your whole kitchen back together. Refer to your labels and carefully rehang cabinet doors in their original locations. Install new hardware if you’re upgrading, making sure placement is consistent across all doors and drawer fronts for a polished appearance.
Cost Comparison: DIY vs. Professional Painting
DIY Material Costs
A typical DIY cabinet painting project requires $200-500 in materials, depending on kitchen size and product choices. This includes high-quality primer and paint, sandpaper, brushes or rollers, and cleaning supplies. Your biggest investment is time—plan on 3-5 full days for a complete kitchen.
Professional Services
Professional cabinet painting typically costs $3,000-8,000, depending on kitchen size and complexity. While more expensive than DIY, professionals bring experience, specialized equipment, and warranties that ensure quality results. Professional painters complete the job faster with fewer mistakes, using techniques that create the most durable finish possible.
[DIY versus professional cabinet painting – the real trade-off of money, time, and finish.]
Special Considerations for Florida Homeowners
Humidity and Drying Times
Florida’s high humidity affects drying time significantly. Water-based paints may take longer to cure in humid conditions, so plan your project during drier months or ensure good ventilation. Never paint cabinets when the humidity exceeds 85%.
Choosing Durable Products
Premium options like Benjamin Moore Advance or Sherwin-Williams Urethane Trim Enamel resist moisture and temperature fluctuations better than standard products. These professional-grade paints cost more upfront but deliver better long-term performance in Florida’s challenging climate.
[Extra steps that matter when you’re painting cabinets in Florida’s heat and humidity.]
When to Call Professional Painters
While many homeowners successfully paint cabinets themselves, some situations call for professional help:
- Large kitchens with many cabinet doors
- Kitchens you need to be functional quickly
- Situations where a factory’s smooth finish is essential
- Previous paint jobs with peeling or adhesion problems
- Lack of proper workspace or tools
Professional cabinet painting services in the Inverness, Crystal River, and Citrus County areas provide expertise with Florida-specific painting challenges. Experienced painters know which products perform best in humid climates and how to adjust techniques for optimal results in local conditions.
Maintenance for Long-Lasting Results
Clean cabinet surfaces regularly with a soft, damp cloth and mild soap. Avoid abrasive cleaners that scratch the surface. Address spills promptly and touch up chips as they occur.
With proper care, painted kitchen cabinets maintain their beauty for 5-10 years before needing a refresh.
Final Thoughts
Painting kitchen cabinets yourself is definitely achievable with the right approach, quality materials, and patience. Understanding each step of the process, from selecting the best cabinet paint to allowing proper curing time, sets you up for success.
Whether you tackle this DIY project yourself or hire professional painters, freshly painted cabinets offer tremendous value and visual impact. They transform not just your kitchen’s appearance but the entire feel of your home.
“A painting company that treats your home like our own.”
— the philosophy behind Make It Happen Painting, founded by Nick Weissman to deliver expert work backed by honest communication, premium Sherwin Williams materials, and a 3-year warranty across Citrus and Marion County.
For homeowners in Inverness, Crystal River, and surrounding Citrus County areas who want guaranteed professional results without the DIY hassle, Make It Happen Painting offers experienced cabinet painting services tailored to Florida’s unique climate challenges. Book your free consultation and see how professional cabinet painting can transform your kitchen.